Introduction to High-Performance Gaming PC Construction
Building a high-performance gaming PC represents one of the most rewarding experiences for any gaming enthusiast. Unlike pre-built systems, custom-built gaming computers offer unparalleled flexibility, superior performance optimization, and significant cost savings. This comprehensive guide will walk you through every critical component and step required to assemble a gaming rig that delivers exceptional frame rates, stunning visuals, and future-proof performance for years to come.
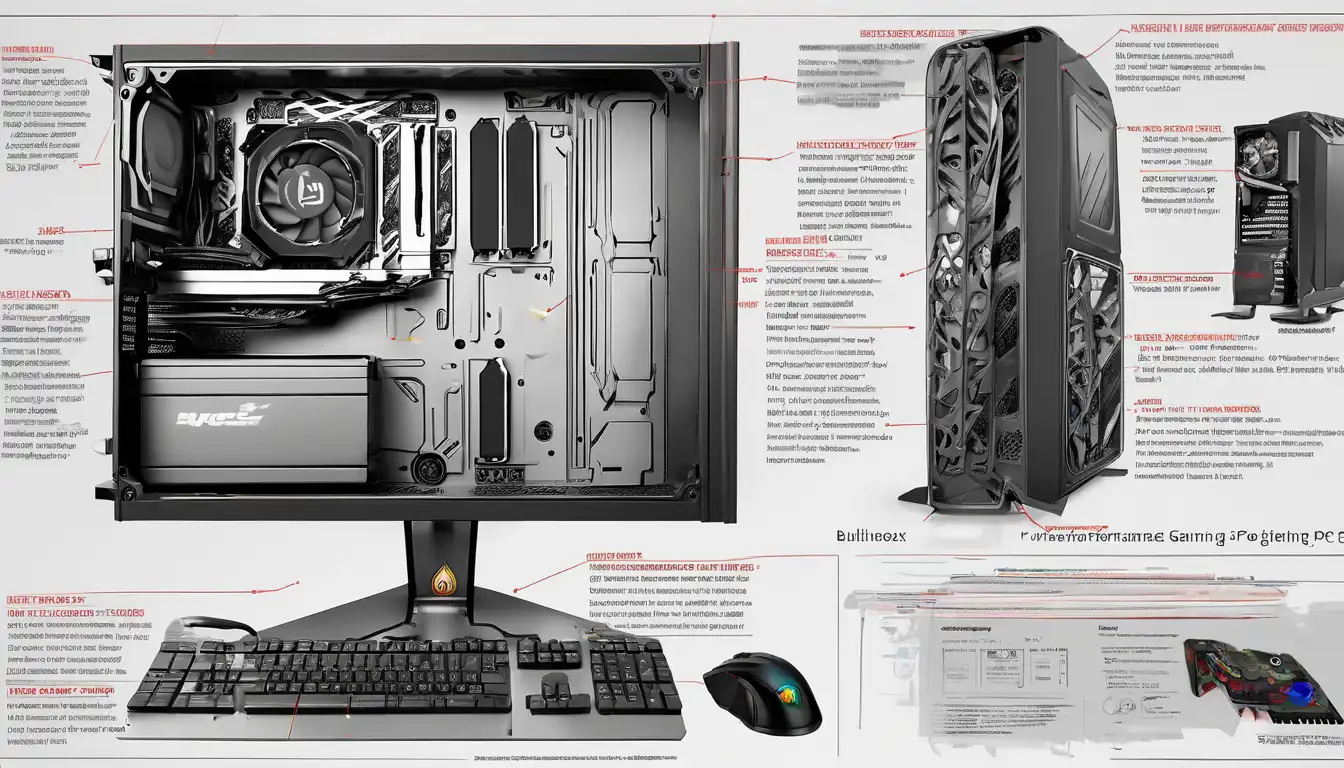
Essential Components for Your Gaming Build
Understanding each component's role is fundamental to building a balanced gaming system. Every part must work harmoniously to achieve optimal performance without bottlenecks.
Central Processing Unit (CPU)
The CPU serves as the brain of your gaming PC, handling game logic, physics calculations, and AI processing. For modern gaming, we recommend processors with at least 6 cores and 12 threads. AMD Ryzen 7 and Intel Core i7 series processors offer excellent performance for high-end gaming builds. Consider your budget and gaming requirements when selecting between AMD and Intel platforms.
Graphics Processing Unit (GPU)
Arguably the most critical component for gaming performance, the GPU renders all visual elements in your games. High-end graphics cards from NVIDIA's RTX 40 series or AMD's RX 7000 series deliver exceptional 1440p and 4K gaming performance. Ensure your GPU choice aligns with your monitor's resolution and refresh rate targets.
Motherboard Selection
Your motherboard determines compatibility with other components and provides essential connectivity features. Key considerations include chipset compatibility with your chosen CPU, sufficient PCIe slots for expansion, robust VRM design for stable power delivery, and adequate connectivity options for peripherals and storage devices.
Memory (RAM)
Modern gaming systems benefit significantly from 16GB to 32GB of high-speed DDR5 memory. Look for kits with low latency timings and speeds of 5600MHz or higher. Dual-channel configurations provide optimal performance, so install memory modules in matching pairs whenever possible.
Storage Solutions
NVMe SSDs have become the standard for gaming storage due to their incredible loading speeds. A combination of a fast 1TB NVMe SSD for your operating system and favorite games, supplemented by a larger 2TB SATA SSD for additional game library storage, creates an ideal setup. Consider our storage optimization guide for detailed configuration advice.
Power Supply Unit (PSU)
Never compromise on your power supply quality. Select a PSU from reputable brands with 80 Plus Gold certification or higher. Calculate your system's total power requirements and add 20-30% headroom for future upgrades and optimal efficiency. Modular PSUs simplify cable management significantly.
Case and Cooling
Your case choice affects thermals, noise levels, and build accessibility. Look for cases with excellent airflow, dust filtration, and sufficient space for your components. Liquid cooling solutions provide superior thermal performance for overclocked systems, while high-quality air coolers offer excellent value for most gaming builds.
Step-by-Step Building Process
Proper assembly technique ensures system stability and longevity. Follow these steps carefully for a successful build.
Preparation and Workspace Setup
Begin by organizing all components, tools, and documentation in a clean, static-free workspace. Use an anti-static wrist strap throughout the building process to prevent electrostatic discharge damage to sensitive components. Keep all packaging until the build is complete and tested.
Motherboard Preparation
Install the CPU, memory, and NVMe storage on the motherboard before mounting it in the case. Apply thermal paste properly if using an aftermarket cooler. Refer to motherboard documentation for optimal memory slot configurations and M.2 slot priorities.
Case Preparation and Component Installation
Install the PSU, route necessary cables, and mount the motherboard in the case. Install storage drives in designated bays and connect all necessary power and data cables. Proper cable management improves airflow and makes future maintenance much easier.
Graphics Card Installation
Remove the appropriate PCIe slot covers from your case and firmly seat the graphics card in the primary PCIe x16 slot. Connect all required power cables from your PSU. High-end graphics cards may require multiple 8-pin connectors.
Final Connections and Testing
Connect front panel headers, USB ports, and audio jacks according to your motherboard manual. Double-check all power connections before attempting to power on the system. Perform an initial test boot outside the case to verify all components function correctly.
Software Installation and Optimization
After successful hardware assembly, software configuration maximizes your gaming performance.
Operating System Installation
Create a bootable USB drive with the latest Windows installation media. Install necessary chipset, storage, and network drivers from your motherboard manufacturer's website before connecting to the internet. Our Windows optimization guide provides detailed tuning recommendations.
Driver Updates and System Configuration
Install the latest graphics drivers from NVIDIA or AMD's official websites. Configure BIOS settings for optimal performance, enabling XMP/DOCP profiles for memory and ensuring all fans operate according to your thermal preferences.
Game Optimization and Monitoring
Use monitoring software like MSI Afterburner to track system performance and temperatures. Adjust in-game graphics settings based on your performance targets. Many games benefit from specific optimization techniques discussed in our game optimization tips article.
Performance Testing and Benchmarking
Validate your build's performance through comprehensive testing before considering the project complete.
Stress Testing Procedures
Run synthetic benchmarks like 3DMark and CPU-intensive applications to ensure system stability under load. Monitor temperatures during extended gaming sessions to verify cooling effectiveness. Most components should operate below 80°C under maximum load.
Real-World Gaming Performance
Test your system with demanding games that represent your typical usage patterns. Monitor frame rates, frame time consistency, and loading times. Compare your results with online benchmarks to ensure your build performs as expected.
Maintenance and Future Upgrades
Regular maintenance preserves performance and extends component lifespan.
Routine Cleaning and Monitoring
Clean dust filters monthly and perform thorough internal cleaning every six months. Monitor system temperatures and performance metrics regularly to identify potential issues before they affect gaming experience.
Strategic Upgrade Planning
Plan upgrades based on performance gaps identified through regular gaming. Graphics cards typically provide the most significant gaming performance improvements, while CPU upgrades benefit CPU-bound games and productivity tasks.
Conclusion
Building a high-performance gaming PC requires careful planning, component selection, and precise assembly. By following this comprehensive guide, you'll create a system tailored to your specific gaming needs that delivers exceptional performance and upgrade flexibility. Remember that the building process itself represents a valuable learning experience that deepens your understanding of computer hardware and performance optimization.
For ongoing support and advanced tuning techniques, explore our advanced PC tuning resources and community forums where experienced builders share their expertise and latest discoveries in gaming PC optimization.